The Ultimate Guide on How to Pack Breast Milk for a Day Out
If you are a new mom planning a fun trip with your baby, you are probably wondering exactly how to pack breast milk for a day out. Take a deep breath, my friend, because you are definitely not alone in this!
Leaving the house with a little one requires a lot of planning, and making sure your liquid gold stays fresh is a top priority. Whether you are heading to the zoo, visiting relatives, or just having a picnic at the park, getting out of the house should be exciting, not stressful.
I know how hard you worked for every single drop of that milk. Pumping is a labor of love, and the last thing you want is for it to go bad while you are out enjoying yourself.
That is exactly why I put together this friendly, step-by-step guide just for you. Grab a cup of coffee (or tea!), get comfortable, and let’s dive into everything you need to know about keeping your baby’s milk safe, fresh, and ready to drink.
Why Knowing How to Pack Breast Milk for a Day Out is Crucial
When you first become a pumping or nursing mom, the logistics of leaving the house can feel like solving a complicated math problem. You have to think about nap times, diaper changes, and, of course, feeding schedules.
Figuring out how to pack breast milk for a day out is the key to unlocking your freedom as a new mom. It means you are not chained to your house or your pump all day long.
Breast milk is a living, dynamic fluid packed with antibodies, nutrients, and healthy fats. Because it is so natural and full of good stuff, it is also sensitive to temperature changes.
If it gets too warm for too long, bacteria can start to grow, which isn’t safe for your baby’s delicate tummy. On the flip side, packing it correctly means you can confidently feed your baby anywhere, anytime.
Once you master this simple skill, you will feel like a total supermom. You will be able to say “yes” to more outings, playdates, and family adventures without a second thought.
The Golden Rules of Breast Milk Storage
Before we get into the actual packing part, we need to talk about the basic rules of breast milk storage. Knowing these guidelines will give you the confidence to pack your bags like a pro.
The Centers for Disease Control and Prevention (CDC) has very clear, easy-to-remember guidelines for breast milk. Let’s break them down into bite-sized pieces so you don’t have to overthink it.
Freshly Expressed Milk
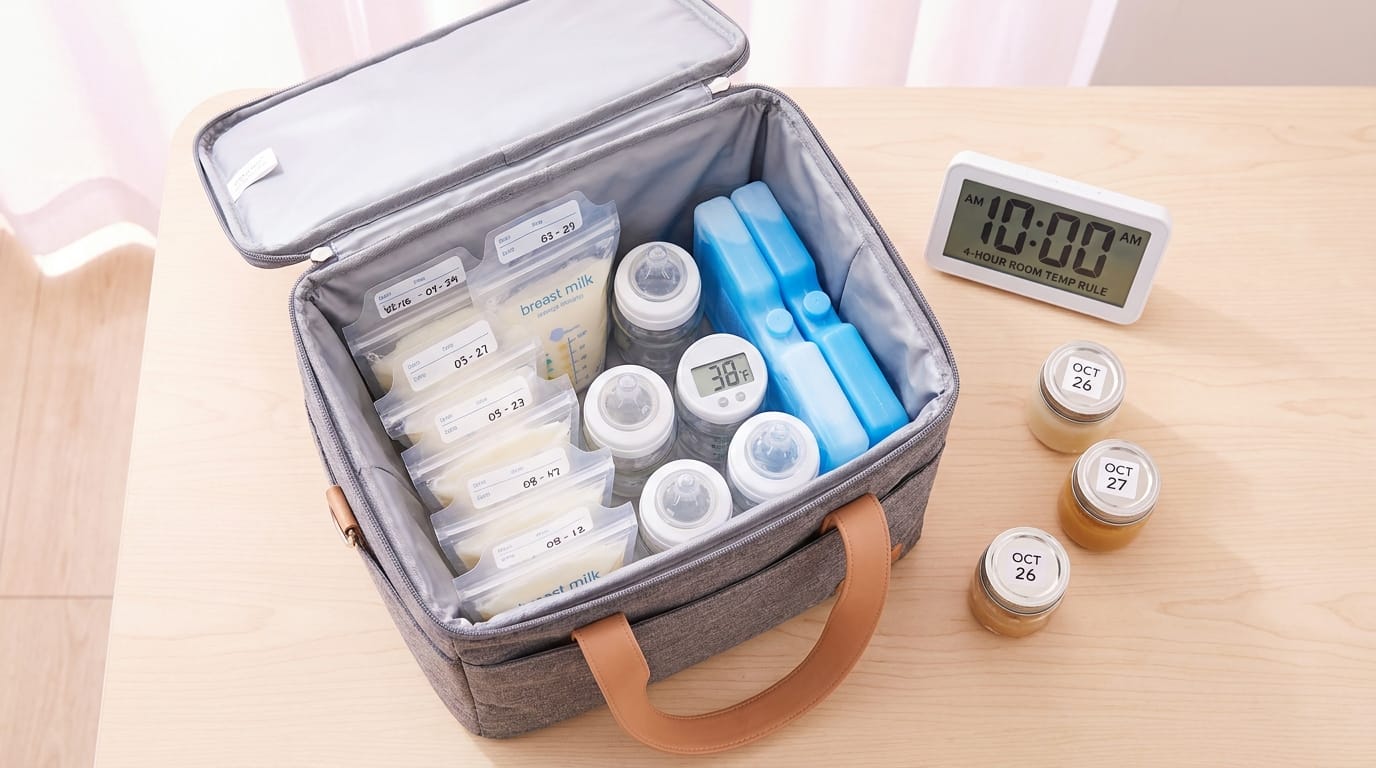
- Room Temperature: Freshly pumped milk can sit at room temperature (up to 77°F or 25°C) for up to 4 hours.
- If you are going on a short trip: If you plan to be out for just a couple of hours, you might not even need an ice pack for fresh milk!
Refrigerated Milk
- In the Fridge: Breast milk can stay in the back of the refrigerator safely for up to 4 days.
- Taking it out: When you take cold milk out of the fridge for your trip, it needs to be kept cold until you are ready to warm it up.
Frozen Milk
- In the Freezer: Milk can be frozen for about 6 months for optimal quality (and up to 12 months in a deep freeze).
- Thawing on the go: If you bring frozen milk on your day out, it will act as its own ice pack for a little while!
Step-by-Step: How to Pack Breast Milk for a Day Out Safely
Now that we know the basic rules, let’s get into the fun part: packing! Here is your foolproof, step-by-step guide to making sure your milk stays perfectly chilled.
Step 1: Choose the Right Storage Containers
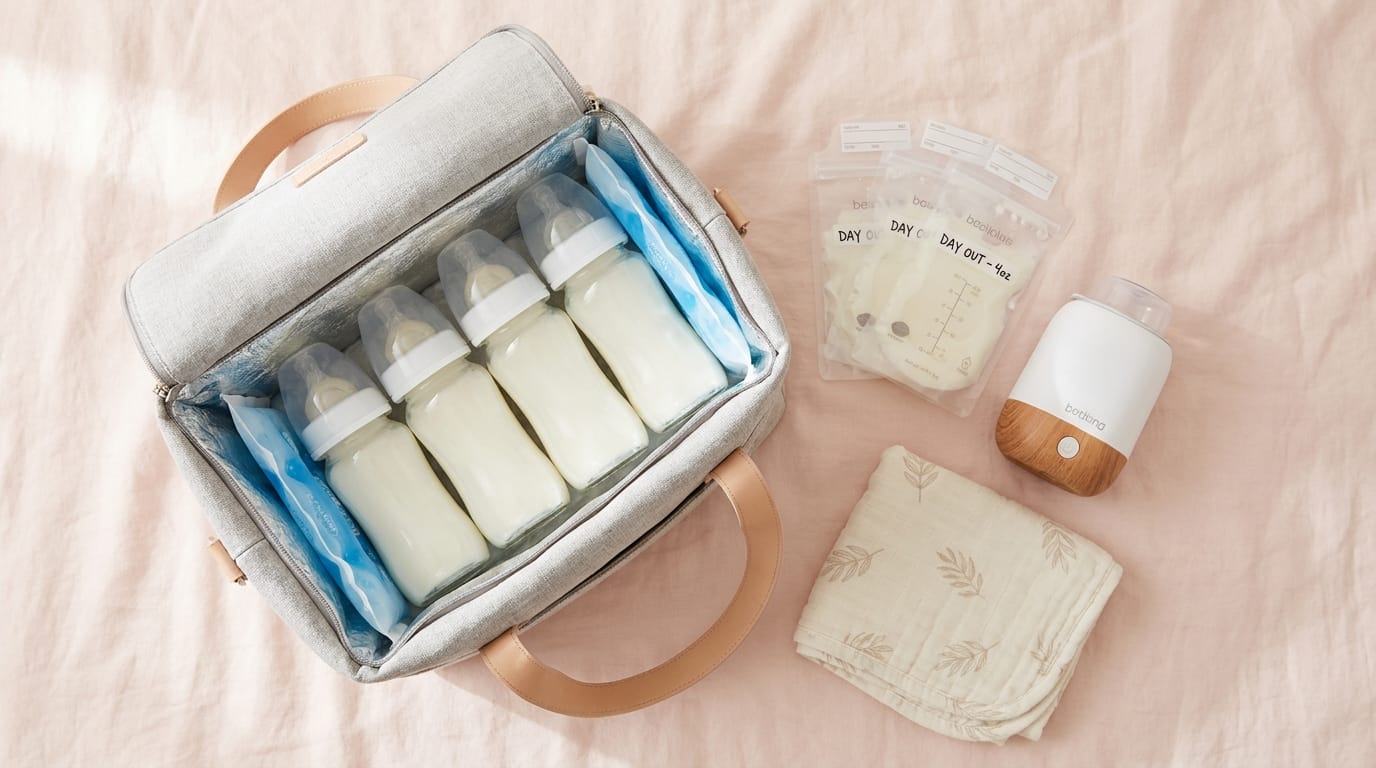
The first step in mastering how to pack breast milk for a day out is picking the right vessels. You have a few options here, and it really comes down to your personal preference.
- Breast Milk Storage Bags: These are fantastic because they lay flat, save a ton of space, and chill down quickly. However, they can sometimes leak if they get punctured in your bag.
- Plastic Bottles: Hard plastic bottles (BPA-free, of course) are incredibly durable and great for traveling. You can pop a nipple right on them when it’s time to feed.
- Glass Bottles: Glass is amazing because it doesn’t hold onto odors or fat residues. But, they are heavier and carry a risk of breaking if you drop your bag.
Pro Tip: If you use storage bags, put them inside a larger, clear ziplock bag. This way, if one happens to leak, you won’t lose the milk all over your nice cooler bag!
Step 2: Pre-Chill Everything
This is a secret trick that many veteran pumping moms swear by. Do not just rely on your ice packs to do all the heavy lifting.
If you are taking freshly pumped milk, try to chill it in the fridge before you leave the house. Cold milk stays cold much longer than warm milk trying to cool down in a travel bag.
You can even put your empty cooler bag in the fridge or freezer the night before! A pre-chilled cooler will hold its internal temperature significantly longer than a room-temperature one.
Step 3: Invest in a High-Quality Cooler Bag
Your cooler bag is going to be your best friend on this journey. You don’t need to spend a fortune, but you do need something insulated and reliable.
Look for a cooler bag that is specifically designed for baby bottles. These are usually taller and have special compartments for ice packs.
Make sure the zipper closures are tight and secure. A good seal is what keeps the warm air out and the cool air locked inside.
Step 4: Pack Strategically with Ice Packs
When packing your cooler, the placement of your ice packs matters just as much as the ice packs themselves. You want to create a little “cold sandwich” for your milk.
- Place a solid, hard ice pack at the bottom of the cooler.
- Stand your bottles or lay your milk bags directly on top of the bottom ice pack.
- Surround the sides with flexible gel packs, and put one more ice pack on top.
Cold air sinks, so having an ice pack on top of the milk is a brilliant way to ensure maximum chilling power. Keep the cooler zipped shut as much as possible to trap the cold air.
Navigating Different Weather Conditions
How to pack breast milk for a day out can change depending on the season and the weather outside. A trip to the beach in July requires a different strategy than a snowy walk in December.
Packing for Hot Summer Days
Heat is breast milk’s biggest enemy. If you are going to be outside in the sweltering heat, you need to take extra precautions.
Pack double the ice packs you think you will need. Keep your cooler bag in the shade at all times, and never leave it sitting in a hot car.
If possible, keep the milk cooler inside a larger, air-conditioned diaper bag. The more layers of insulation between the sun and your milk, the better!
Packing for Cold Winter Days
Winter outings are a bit easier on your milk stash! If it is freezing outside, your cooler bag actually works to keep the milk from freezing solid.
You still want to use an ice pack to maintain a consistent refrigerator temperature. However, you won’t need to stress as much if you have to open and close the bag a few times.
Just remember that if milk does freeze completely and then thaws, it must be used within 24 hours. Keep an eye on those temperatures!
How to Warm Breast Milk on the Go
So, you have successfully packed your chilled milk, and now your little one is giving you the “I’m hungry” cues. How do you warm it up when you are miles away from your kitchen?
Do not panic! Warming milk on the go is actually surprisingly easy if you have the right tools.
- A Travel Thermos: Before you leave home, fill a stainless steel thermos with boiling water. When it’s feeding time, pour the hot water into a cup and place your bottle in it to gently warm up.
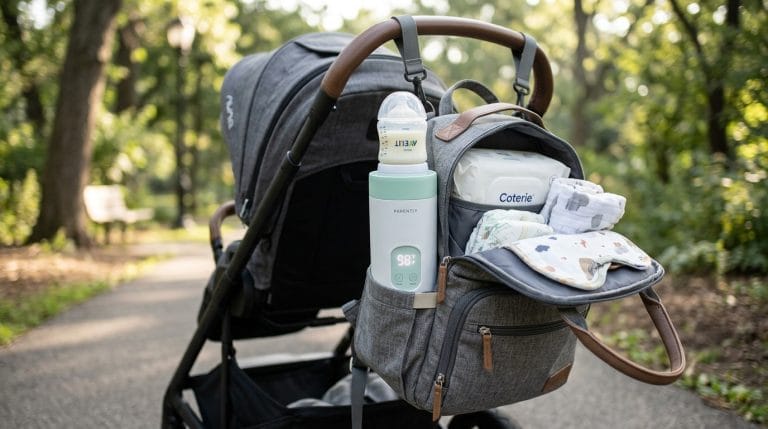
- Portable Bottle Warmers: There are amazing battery-operated or USB-charged bottle warmers available today. You just attach the bottle, press a button, and it heats it to the perfect temperature.
- Use Your Body Heat: In a pinch, if you only need to take the chill off, you can tuck a milk bag into your waistband or under your arm. It sounds silly, but body heat works wonders!
Never, ever use a microwave to heat breast milk. It creates dangerous hot spots that can burn your baby’s mouth and destroys the precious nutrients in the milk.
What to Do with Unfinished Bottles
This is a scenario every mom faces: you warm up a full bottle, but your baby only drinks half of it before falling asleep or losing interest. What do you do with the rest?
Once a baby has started drinking from a bottle, bacteria from their mouth mixes with the milk. Because of this, the CDC recommends discarding any leftover milk within 2 hours of the baby finishing the feed.
Do not put a half-eaten bottle back into your cooler bag to save for later in the day. It is heartbreaking to throw away breast milk, but your baby’s health always comes first.
To avoid wasting milk, try packing it in smaller portions. Instead of bringing two 6-ounce bottles, bring four 3-ounce bottles so you only warm up exactly what you need.
Bonus Hacks for Pumping Moms on the Go
Sometimes, you aren’t just bringing pre-pumped milk; you actually have to pump while you are out. Here are a few friendly tips to make that process seamless.
- Bring Wet Bags: Have a waterproof “wet bag” (like the ones used for cloth diapers) to store your used pump parts until you can get home to wash them properly.
- Pump Wipes: Invest in some breast pump cleaning wipes. They are safe, quick, and perfect for wiping down flanges when you don’t have access to a sink.
- Wear a Nursing Cover: If you are using a wearable pump or a traditional pump in public, a lightweight nursing cover can give you the privacy you need to feel comfortable.
Remember to pack your freshly pumped milk right into your cooler bag with the ice packs. It will cool down safely alongside the rest of your stash.
How to Pack Breast Milk for a Day Out: Mistakes to Avoid
Even with the best intentions, it is easy to make a little misstep when packing for a busy day. Let’s look at a few common mistakes so you can avoid them completely.
Opening the Cooler Too Often
Every time you unzip that cooler bag, you are letting the cold air escape and warm air in. Only open the bag when it is absolutely time to take a bottle out for feeding.
Using Regular Ice Cubes
Loose ice cubes will melt, creating a watery mess at the bottom of your bag. This can ruin your milk storage bags and make a mess of your diaper bag. Always stick to sealed gel packs or solid ice blocks.
Forgetting to Label
If you are bringing milk from different days, always label your bottles or bags with the date and time it was pumped. You always want to practice the “first in, first out” rule to ensure nothing goes bad.
Frequently Asked Questions (FAQs)
I know that even with all this information, you might still have a few lingering questions. Let’s tackle some of the most common things moms ask when figuring out how to pack breast milk for a day out.
Can I mix freshly pumped warm milk with cold milk in my cooler? No, it is best not to do this. Adding warm milk to already chilled milk can raise the temperature of the cold milk and encourage bacterial growth. Cool the fresh milk first, then combine them if needed!
How long do gel ice packs actually stay cold? A high-quality gel ice pack inside a well-insulated, zippered cooler bag can easily stay frozen for 8 to 12 hours. Just make sure you aren’t leaving the bag out in direct sunlight.
Is it okay if the milk separates in the bottle? Yes, absolutely! Breast milk naturally separates when it sits, with the creamy, fatty hindmilk rising to the top. Just give the bottle a gentle swirl (don’t shake it aggressively) to mix it back together before feeding.
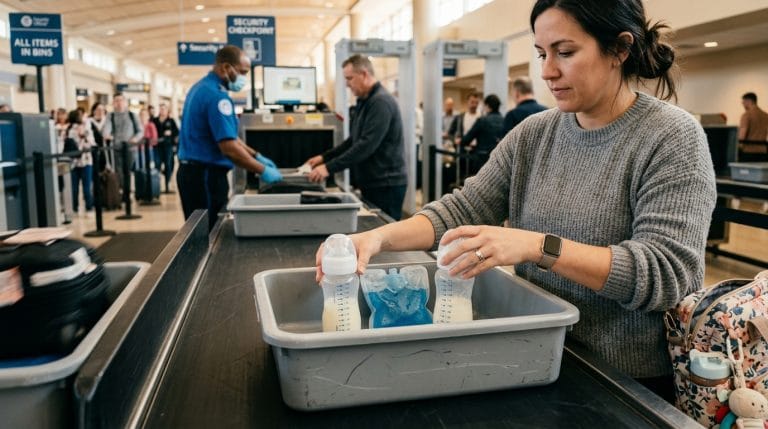
Can I take breast milk on an airplane if my day out turns into a flight? Yes! In most countries, including the US (under TSA rules), breast milk is considered a medically necessary liquid. You can bring it in quantities greater than 3.4 ounces, just inform the security officer before your bags go through the scanner.
Does breast milk smell bad when it spoils? Spoiled breast milk will have a distinctly sour, rancid smell, very similar to spoiled cow’s milk. If it smells soapy or metallic, that is usually just high lipase (an enzyme in the milk) and is perfectly safe for your baby to drink!
Conclusion
Figuring out how to pack breast milk for a day out doesn’t have to be a scary or overwhelming task. With a little bit of preparation, the right cooler bag, and some trusty ice packs, you are completely ready to take on the world with your little one.
Remember, every mom learns these tricks through a bit of trial and error. Be patient with yourself, pack an extra bottle just in case, and focus on making beautiful memories with your baby.
You are doing an absolutely incredible job providing for your child, and you deserve to get out and enjoy your day without stressing over spilled (or spoiled) milk!